What Do You Do With Finished Cross Stitch? A Practical Finishing Guide (DMC Free Patterns + Color Chart)
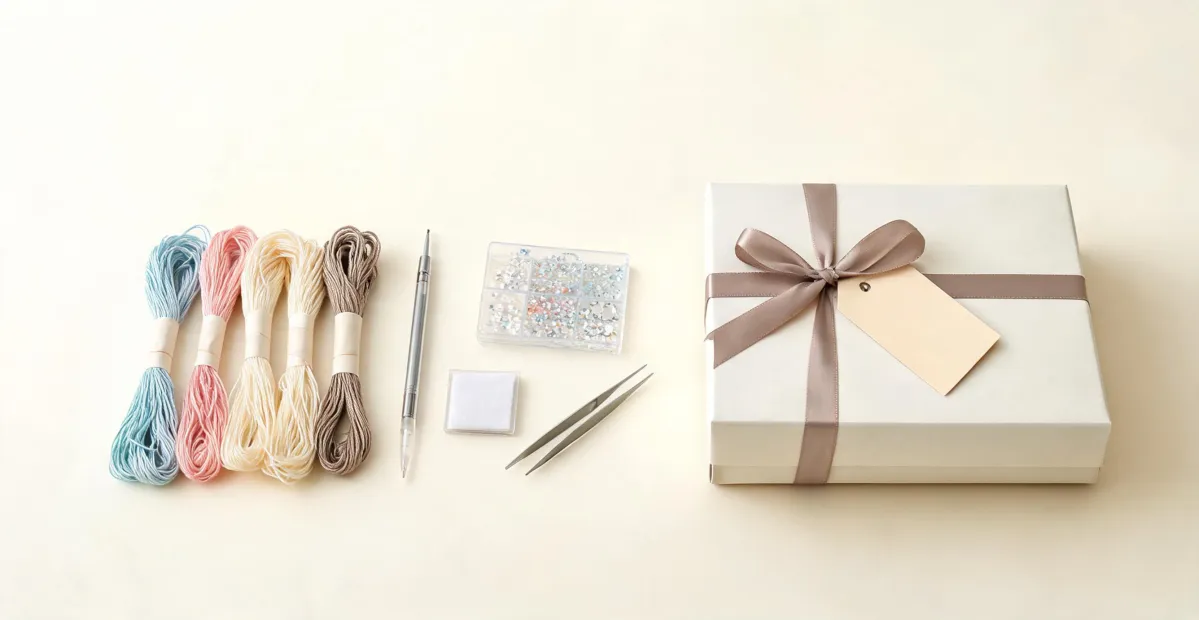
Don't mount your finished cross stitch in an embroidery hoop. At least not until you know what the piece is for. If it's a gift, a Christmas ornament, or a product you're planning to sell, a hoop is often the worst finish you can choose. I've learned that the expensive way—roughly $1,200 wasted on projects that looked fine in progress and disappointing on a wall. Maybe $1,400; I'd have to check my notes. Either way, it hurt.
I'm a procurement lead at a promotional products company. For the past 8 years, I've handled custom gift orders that include embroidery kits, cross stitch supplies, diamond painting accessories, and home fragrance products. I've also personally made (and documented) 11 significant finishing mistakes, totaling a little over $6,800 in wasted budget. Now I keep a checklist so my team doesn't repeat my errors. This article is the part of that checklist that answers the question I get most: what do you do with finished cross stitch?
The hoop is a trap (mostly)
It's tempting to think you can finish a cross stitch piece by placing it back in the hoop and trimming the excess fabric. You'll see that trick all over social media. But the hoop finish ignores three things: the fabric gets loose over time, the exposed back of the stitches collects dust, and the hoop's tension can distort the weave. It's a temporary display rack, not a long-term finish.
The only time I'd recommend a hoop is for a very small design you're going to hang for one season and replace. For a Christmas ornament that will be handled and stored, a hoop edge is a snag waiting to happen.
4 finishing options that actually work
Here's what I tell our B2B clients when they ask about finished products. It depends on the shape and size of the piece, but these four options consistently work in our orders.
1. Christmas ornament with a rigid insert
For small designs, mount the fabric on a stiff board or plastic canvas, add a ribbon hanger, and finish the back with a piece of felt. This is our most requested custom promotional gift. We also add a drop of home fragrance oil to the felt backing—never directly on the stitching—so the ornament smells like pine, cinnamon, or whatever scent the buyer wants. It's a small touch, but it's the reason people don't toss the ornament in January.
2. Framed mini art
For a piece that took 20-plus hours, spend the money on a proper frame. You don't need museum-grade framing for everything, but a 5x7 frame with an acid-free mat (the kind that won't yellow the fabric) is a huge step up from a hoop. If you're making gifts in batches, buy the frames in quantities. As of January 2025, based on our supplier invoices, a basic 5x7 wood frame runs about $3-$4 per unit when you order 50 or more. I might be off by a few cents, but you get the idea.
3. Scented sachet or drawer liner
If the finished piece is small and flexible, turn it into a linen sachet. Sew a backing, leave a small opening, fill it with dried lavender or a cotton pad with a few drops of home fragrance oil, then close the opening. This is where the DMC free cross stitch patterns section helps: it has designs specifically sized for small projects like sachets, biscornu, and needle cases. You don't have to convert a massive pattern and hope it fits. As of January 2025, DMC's official website lists free patterns that don't require a purchase.
4. Functional accessories
Bookmarks, needle cases, pin keepsakes, even a simple key fob. These are easy to make from leftover fabric and require no framing. For B2B orders, they're good trade show giveaways because they're useful and can be customized with a logo or a color-matched border using DMC color numbers.
If you're not sure which option to pick, start with the end in mind. A small ornament is the easiest first finishing project. A framed piece is the best for sentimental work. A scented sachet is the best for using odd-sized pieces. And if you want to make multiples for a client, ask about the DMC color chart before you stitch, not after.
Why the DMC color chart matters for diamond painting
Most buyers look at the finished design on a screen and completely miss one thing: the physical color won't match the screen unless you're working with a recognized color system. That's where DMC's color chart comes in. Search for 'dmc color chart diamond painting' and you'll find PDFs, cards, and reseller charts. The official DMC color chart is the standard language for both cross stitch floss and diamond painting resin colors. The DMC color system has been around since 1746, and that history matters. If a diamond painting pattern says symbol 2 = DMC 310, that number lets you find the exact matching resin or floss. No guessing, no 'close enough' between brands.
Here's the oversimplified version I keep seeing: just eyeball it. That advice ignores the fact that dye lots and manufacturers don't stay consistent. The same printed preview can look different in physical thread or resin. I've had a client reject a batch of 120 ornaments because the border color didn't match their brand book. We used a different thread because the client didn't want to wait for DMC delivery. That mistake cost us $450 in rework plus a 3-day delay. Now every custom order specifies DMC numbers in the work order.
What do you do with finished cross stitch that's already sitting in a drawer?
If you have finished pieces that have been waiting for months, sort them into three categories: give away, finish into a useful object, or recycle the fabric. Don't keep a project that you know will never go up. That pile of 'someday' is what kills the hobby.
The question everyone asks is, how do I display this? The better question is, would this make someone smile as a gift? I have mixed feelings about professional finishing services. On one hand, they're expensive. On the other, they do a cleaner job than I can with an iron and a glue gun. If you're making one memory piece, paying a professional framer is worth it. If you're making 50 promotional Christmas ornaments, you need a repeatable in-house process, not a custom framer.
The most frustrating part of this whole topic is the lack of clear finish-specific advice. You'd think a quick search would settle it, but most tutorials stop at 'tie off the thread.' That's not finishing; that's stopping. The last 30 minutes of a project decide whether the piece ends up on a wall or in a drawer.
One more note: do the final fitting before you remove the hoop. It's a small thing, but I can't count how many times I've trimmed fabric that ended up a quarter inch too small. After the third time, I bought a cutting mat with a ruler and added a pre-trim checklist. Our team's error log went from 47 mistakes in 18 months to maybe 12. That 47 number is real, and I'm not proud of it.
When this advice doesn't apply
If you're stitching a canvas that's designed to be glued to a board (like some 3D kits), ignore everything I said about hoops. Those kits have their own finishing instructions. If you're okay with a temporary display and don't care about dust, a hoop is fine for a three-month seasonal spot. And if you're buying finished items from a vendor, ask for their exact finishing process in writing. 'Finished' can mean anything from 'the last stitch pulled tight' to 'mounted, framed, and ready to hang.' An informed customer asks better questions, and that's good for every supplier.

Elise Laurent
Elise Laurent is a crystal and decorative glass quality analyst covering crystal figurines, vases, ornaments, suncatchers, and gift glassware. She examines ISO 6486-1 where food-contact glass dinnerware applies, then uses polarized strain inspection, dimensional checks, surface-defect grading, and refractive clarity to compare decorative pieces outside that scope. Her work helps sourcing teams choose materials, finishing routes, and protective packaging without confusing visual brilliance with verified durability.