How a Custom DMC Embroidery Kit Order Became a $4,580 Lesson in Checking Twice
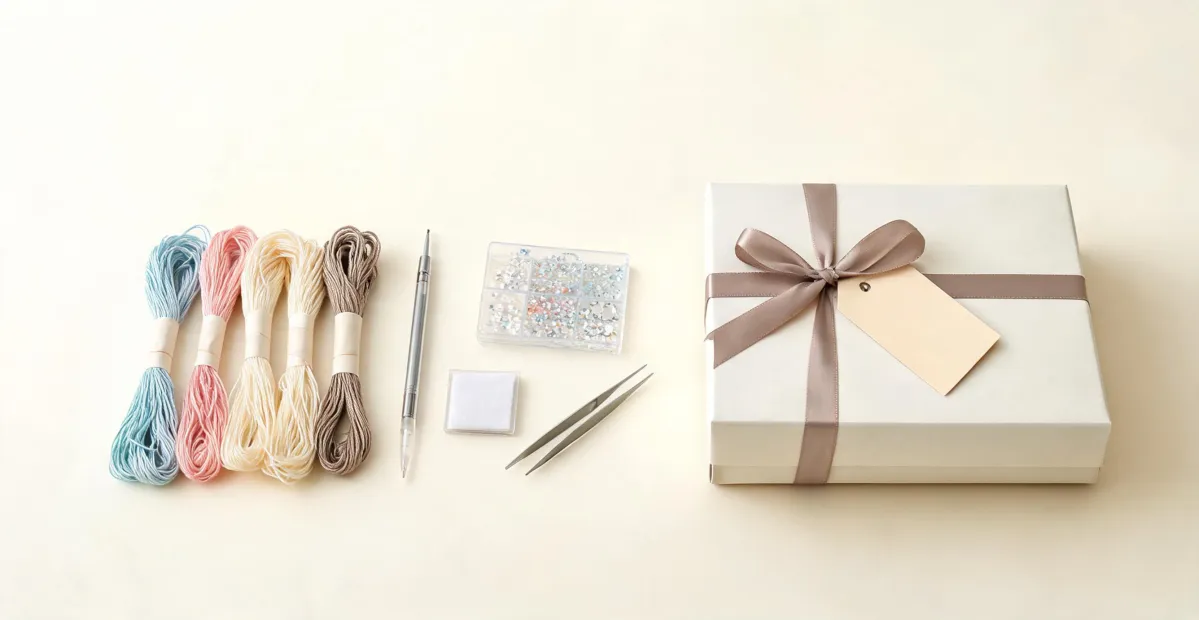
It was 9:40 AM on March 5, 2024, when I hit send on the final production approval for 300 custom DMC embroidery kits. Every box in that order also contained a personalized name badge component and a small pack of branded wax melt cubes. Three weeks later, that order went into full rework at a cost of $4,580—plus a two-week delay.
I've been handling custom branded merchandise orders for seven years. I've personally made (and documented) three significant mistakes in that time, totaling roughly $8,200 in wasted budget. This was the worst one. Now I maintain our team's pre-production checklist, so let me walk you through exactly what went wrong and what I'd do differently.
The Order That Looked Routine
The client was a regional wellness brand with about 300 employees. They wanted a “wellness appreciation kit” for their annual retreat: DMC cross stitch kits, embroidered name badge kits, and a small pack of home fragrance wax melts for their break rooms. They chose DMC deliberately: the brand's heritage carried weight with their staff, and they wanted something people would actually use instead of tossing in a drawer. The embroidery kit was the centerpiece. The name badge and wax melts were the add-ons.
It sounded simple:
- A custom DMC embroidery kit with printed Aida fabric, DMC floss, a bamboo hoop, and a needle
- A name badge kit—a satin badge backer, a pin, and a template for employees to embroider their own names
- A small pack of wax melt cubes with a custom-printed label
Multiply all of that by 300 employees. To be fair to ourselves, the fabric counts were right, the hoops were right, the needles were right. The easy parts were all easy.
The client's brand guidelines listed two color codes: PMS 286 C for the primary blue and PMS 1665 C for the accent orange. They also asked a straightforward question: “Can you confirm how many wax melt cubes to use per warmer? We want to put instructions on the label.”
I thought, sure, that's easy. That was mistake number one.
Mistake 1: When a Blog Post Replaced a Color Card
When I first started managing custom brand merchandise, I assumed Pantone-to-DMC color conversion was a straightforward lookup. You find a chart, you match numbers, you move on. The reality is not that simple.
Here's what actually happened. I searched for “PMS 286 C to DMC floss” and landed on a crafting blog's conversion table. It had no caveats, no disclaimers, just a clean list of thread numbers. It looked convincing—a table with a lot of rows. I sent those numbers to our kitting partner, they ordered the floss, and we assembled the kits.
Nobody physically compared a thread sample to the client's Pantone swatch before production. That's the key sentence.
Now, I'm not a textile engineer, so I can't speak to dye lot chemistry or thread manufacturing tolerances. What I can tell you from a project management perspective is that a chart on a blog is not a color standard. Even the official Pantone guidance says their own CMYK conversions are approximate at best. DMC's color system has been trusted since 1746, but that doesn't make third-party conversion charts accurate. There's no official one-to-one mapping between Pantone codes and DMC floss numbers. Anyone who says otherwise is guessing.
When the client's brand manager held the floss bundles from a sample kit against her physical swatches, the blue was visibly too purple. The orange leaned rust-toned instead of vivid. She didn't say “looks close.” She said, “These aren't our colors.” In that moment, the worst part wasn't the rework. It was knowing she was right.
“Industry standard color tolerance is Delta E < 2 for brand-critical colors. Delta E of 2–4 is noticeable to trained observers; above 4 is visible to most people.” — Pantone Color Matching System guidelines
Here's something vendors won't tell you: floss suppliers assemble bundles from the numbers you provide. They don't verify your color choices. They're not supposed to. That's the buyer's job.
Mistake 2: The Name Badge That Was Too Blurry
The name badge design should've been supplied as a vector file or, at minimum, a 300 DPI raster. The client sent a PDF that mixed crisp text with an embedded logo image at just 150 DPI. On screen, it looked sharp. On a screen, everything looks sharp. That's the trap.
I didn't catch it because I didn't really check. I opened the PDF, saw that it looked fine on my monitor, and exported a JPG mock-up for the client's approval. They approved. I sent the production file. The supplier's prepress team flagged the resolution—“We need a vector or a 300 DPI original”—and I told them to proceed anyway, because the client had already approved the mock-up and we were tight on schedule.
It's an industry standard for a reason: commercial printing requires 300 DPI at final size. At 150 DPI, text and logo edges lose their crispness. On a satin badge backer, the softness is even more noticeable.
The badges came back looking, well, close. Not terrible, not acceptable. The client's close-up photo made the pixelation obvious.
Mistake 3: How Many Wax Melt Cubes to Use? I Guessed.
This one is embarrassing because the answer was sitting in the supplier's product spec sheet the entire time.
The client asked a direct question: “How many wax melt cubes to use per warmer?” I wrote “2–4 cubes per warmer” on the label proof. It felt like a reasonable range. What I didn't do was read the supplier's own usage instructions, which were printed on the back of the very product we were packing.
Their guidance was clear: two cubes is the recommended starting point for a standard warmer; larger warmers can handle up to four; and one cube lasts roughly six to twelve hours depending on the warmer's temperature. They had already tested this. They had already printed it. I just never looked.
After the retreat boxes went out, one office loaded four cubes into a compact break-room warmer—because the label I approved said 2–4 was fine. The scent was so strong that staff opened windows in February. No safety incident, but plenty of complaints, and the client's HR team lost confidence in our labels. That mattered more than the cost.
The Cost of Checking Too Late
All three problems were caught before final delivery, which is the only reason the rework bill was $4,580 instead of something four times bigger. Here's where the money went:
- $2,350 for replacement DMC floss in the correct shades
- $640 for re-kitting labor—300 kits opened, emptied, and rebuilt
- $480 for rush shipping to recover the revised schedule
- $410 for reprinted name badges from a proper vector file at 300 DPI
- $700 for reprinted wax melt labels with the supplier's actual usage guidance
Total: $4,580. Plus a two-week delay. Plus a client who had been planning to order two more product lines from us. That last part didn't show up on any invoice, but it was the most expensive line item of all.
What I Actually Do Now
A month after this order, I wrote the first version of our team's 12-point pre-production checklist. It's just a Google Doc with boxes that have to be checked before any purchase order reaches production. Since then, it has caught 47 potential errors—none of them as expensive as this one.
Three of the checklist's 12 points came directly from this project.
1. Physical color samples, always
Since April 2024, we keep a physical DMC color card in the office. When a client gives us a Pantone code, we pull the closest DMC floss shades, lay them side by side, and photograph the comparison for the client's sign-off before ordering anything. It takes about 10 minutes. It has already stopped one color mismatch that would've become a full rework.
2. Resolution checks before approval
Before any file goes to production, someone on the team verifies that it meets the 300 DPI baseline. If it doesn't, we stop and request a vector or a higher-resolution original. It costs an extra email. It costs nothing compared to a reprint.
3. Trust the supplier's spec sheet
Do you know how many wax melt cubes to use per warmer? I don't guess anymore. I check the supplier's spec sheet and use their numbers on the label. If we're writing instructions for any product, we verify them with the person who made it. That rule now applies to floss counts, badge backing materials, and every other component we touch.
The $4,580 lesson was really a timing lesson. Every one of those mistakes was discoverable before production. I just did not look. My old habit was simple: send it fast, fix it later.
Later is always more expensive.
Five minutes of verification beats five days of correction. If you're putting together a custom DMC embroidery kit order—or any branded merchandise involving name badges, color matching, or wax melts—I hope you find a cheaper teacher than I did.

Elise Laurent
Elise Laurent is a crystal and decorative glass quality analyst covering crystal figurines, vases, ornaments, suncatchers, and gift glassware. She examines ISO 6486-1 where food-contact glass dinnerware applies, then uses polarized strain inspection, dimensional checks, surface-defect grading, and refractive clarity to compare decorative pieces outside that scope. Her work helps sourcing teams choose materials, finishing routes, and protective packaging without confusing visual brilliance with verified durability.